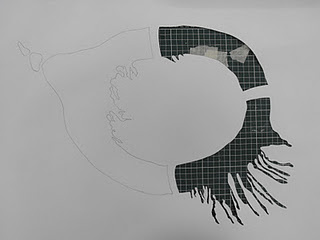
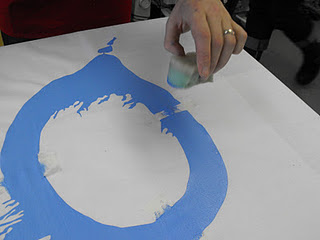
Draw the initial design to scale on paper. Create the stencil by carefully cutting this design out. For large design create "bridges" to hold the stencil together, for example in this case to keep the centre of the design in place and secure.
Use a clean, dry screen which is larger than the stencil and carefully stick it in place using masking tape. Position the material you wish to stencil under screen ensuring it is smooth (wrinkle free) and in direct contact with the screen.
Mix the paint, half and half mix of acrylic paint and screen print medium using a palette knife and paint mixing glass plate. Put the paint at the top of the screen, the same width as the squeegee and then use the squeegee to cover the entire stencil and screen. The surface should be covered in an even and uniform layer of paint.
Carefully remove the paper stencil from on top of the screen and the material from under the screen.
While the paint is still wet paint or sponge in the bridging gaps.
An example of a three colour/layer screen print created using paper stencils.
The materials needed to create a fabric screen print:
- Adequate in size screen print.
- Adequate in size squeegee.
- Paper stencils.
- fabric to stencil on to.
- Acrylic paint.
- Screen print medium.
- Palette for paint mixing and palette knife.


No comments:
Post a Comment